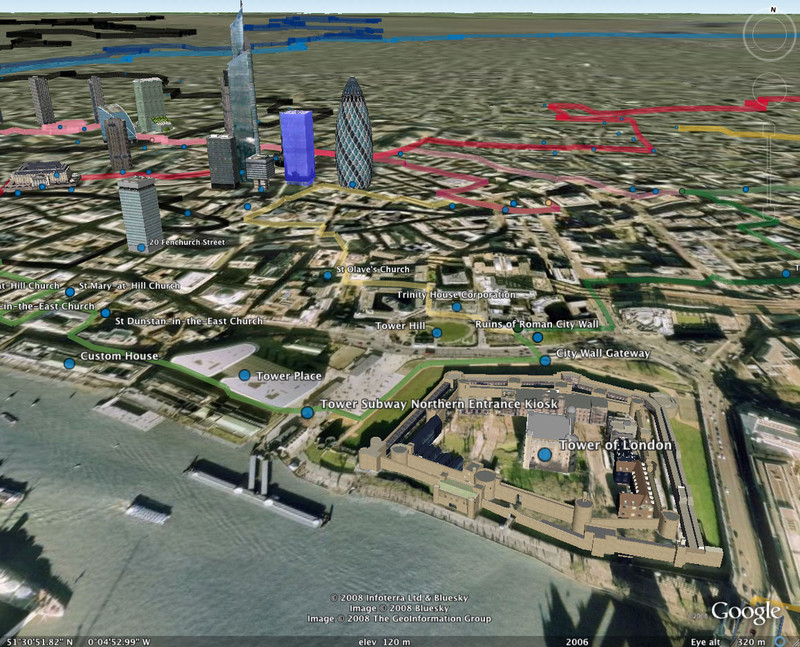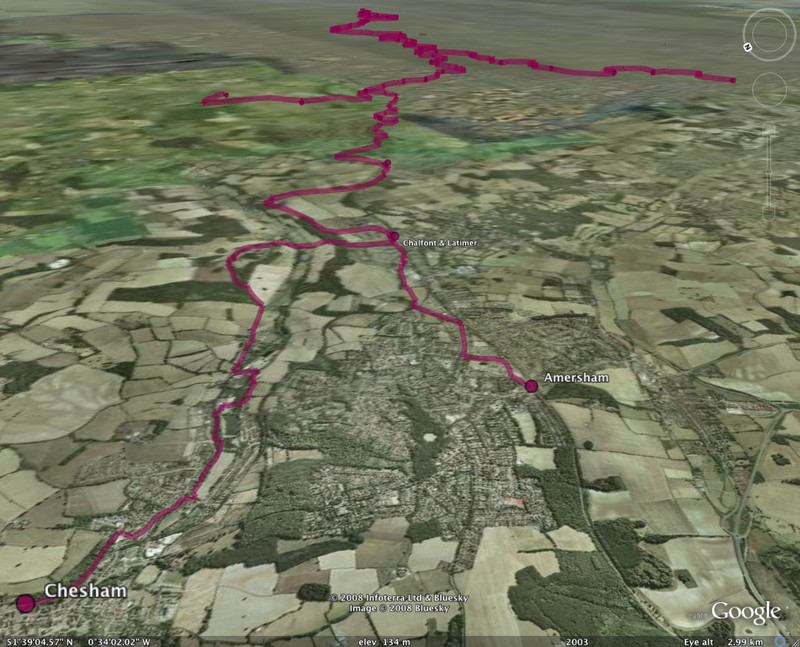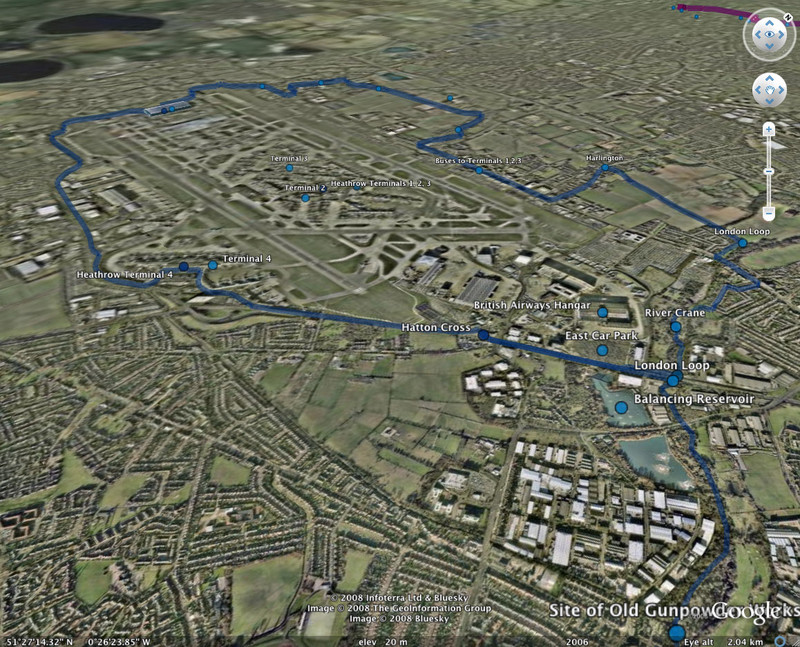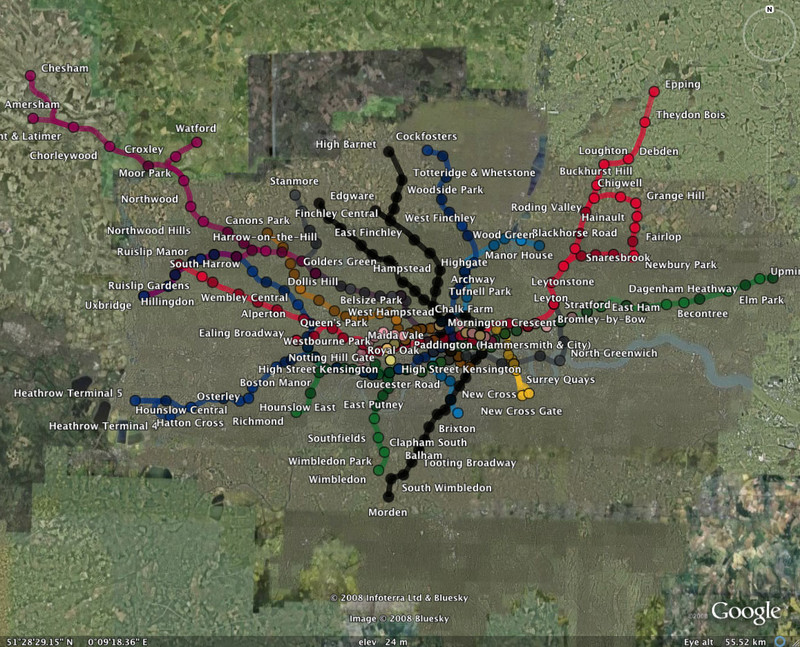
If you'd like to enjoy the experience of tubewalking all over London without leaving your armchair, then you can do just that using Google Earth (which you can download for free). I've put together a file containing details of Tube lines that you can load into Google Earth, and fly along the route in three dimensions, zooming in on places of interest and examining every single footstep of my walk as if you were a London pigeon. All you need to do is:
-
Download Google Earth for free and install it on your computer
-
Download my route file (606 KB) and double-click on it to load it into Google Earth
And hey presto! Google Earth loads up my route, ready for you to explore. Enjoy!
Some Basic Instructions

For detailed instructions on using Google Earth, I refer you to the Help system that comes with the software, but here's a quick guide on using my route file.
When you double-click on the route file to load it into Google Earth, the globe should rotate round and zoom in towards London, eventually showing the route of my tubewalk plus all the stations of the London Underground.
When the route first loads up, it shows the route of my tubewalk and all the station names, but nothing else; you can switch on three other sets of placemarks, one showing points of interest along the way, another showing the Tube lines, and a third showing all the photographs I took en route, but at this point they're all switched off to prevent things getting too cluttered. See the next section for information on this.
If this is your first time using Google Earth, you might want to zoom in and out a little, pan the view up and down, and rotate the view, to get a feel for what you can see and how you can move it around. You can do this using the controls at the top right of the window (or, if you're using a version of Google Earth earlier than 4, the controls at the bottom). The best way to learn what you can do with the controls is to play with them.
Using the Places Panel

Along the left-hand side of the application you should be able to see the Places panel. This lists all the different sets of placemarks in my route file, and by ticking and unticking the various boxes, you can hide or show various types of feature, namely the route of my tubewalk, Tube stations, Tube lines, points of interest and photographs along the way.
Try switching on the points of interest by ticking the box next to the 'Points of Interest' folder; a collection of placemarks should appear, though you might want to zoom in a little to avoid cluttering things up (there are lots of points in this folder). You can, of course, hide these placemarks again by unticking the box. If you tick the 'Photos' box, then just under 10,000 photos will appear, each one shown by a small white circle; click on a circle to see the photo.
You can open up folders in the 'Places' panel to access individual Tube lines, so if you want to hide all the tubewalks except for one particular line, for example, you can do this by unticking the 'Walking routes' folder, opening it, and ticking just the relevant Tube line inside. You can do a similar thing with points of interest, photos, Tube lines and Tube stations.
Not only does this panel allow you to turn various placemarks on and off, it also lets you jump to them in the 3D view. If you double-click on an item in this panel, then Google Earth will smoothly move the display to that item. So if you want to concentrate on the route around Bank station, then open up the 'Waterloo & City' folder (or any of the other lines that Bank station is on) and double-click on 'Bank', and the display will zoom to Bank station.
Taking a 3D Walk Along the Route

If you want to follow the route in 3D, first make sure the 'Terrain' box in the Layers pane is ticked (or, for earlier versions, tick the 'Terrain' box below the main screen). This makes hilly country appear in 3D, though the flatter parts of the country will only look hilly if you zoom in very close. Also, it's worth ticking the '3D Buildings' box, as there are quite a few 3D buildings in London.
Next, zoom in close to the start point (you can do this by double-clicking on the relevant point in the Places panel, as well as panning and zooming manually). Tilt the view down and rotate the view left or right until you're looking along the route, and when you're ready to set off, you can either grab and drag the 3D screen itself, or you can click on the button in the middle of the navigation control (the 'joystick' in Google parlance) and hold down the mouse button while you move your mouse. You should find you can use this to fly along above the route, and if you need to turn a corner you can let go of the joystick and rotate in a new direction, before clicking on the joystick and setting off again.
It's almost as good as being there... but without the traffic.
Notes
Here are a couple of caveats when using my Google Earth route file:
-
Accuracy: This route file should be accurate enough for navigation, though bear in mind I'm only human and I may have made the odd mistake in digitising my route. If you do spot a howler, then I'd be really grateful if you could let me know, so I can fix it.
-
Rights of Way: These maps reflect the routes I took on my tubewalk, but just because I walked them, it doesn't mean I was allowed to (in particular, my route around Heathrow can only be done with prior permission). I have tried to make the routes suitable for general use and have stuck to rights of way wherever possible, but I can't be sure I didn't accidentally trespass at some point, so use your own judgement if you decide to follow in my footsteps.
That's it – I hope you enjoy exploring the route.